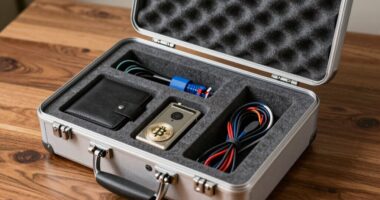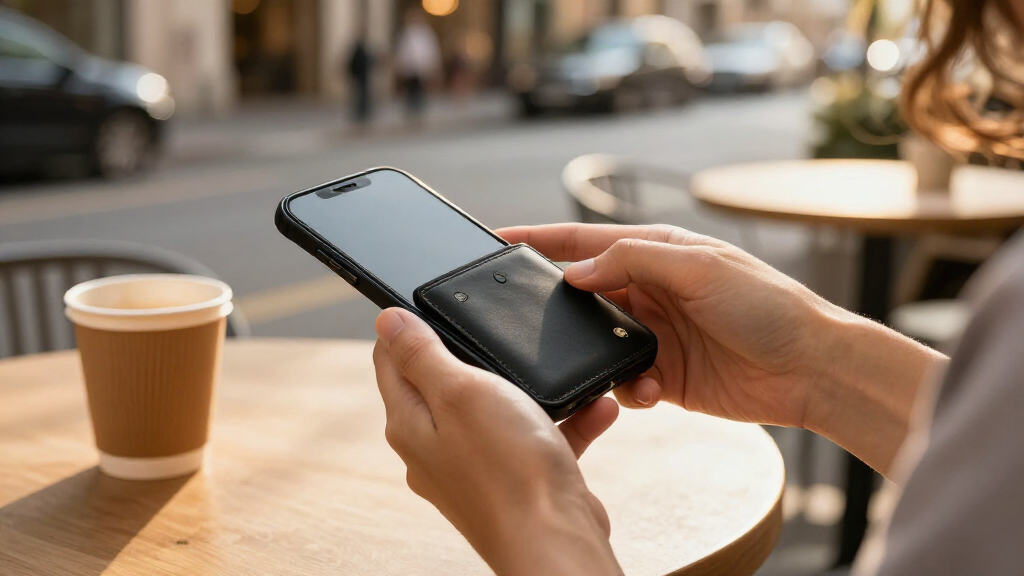

Set up a crypto hardware wallet so you can control your private keys and safely receive and send cryptocurrency. This guide is for beginners who can use a smartphone or computer and have a wallet device, its official companion app, and an account at a compatible exchange or wallet service. Allow 30-60 minutes for setup and a small test transaction; network confirmation can take longer.

Get hardware and tech essentials delivered free with Prime
- Fast, free delivery on millions of items
- Prime Video, Amazon Music and more included
- Member-only deals all year

Trezor Safe 7 Crypto Hardware Wallet with Bluetooth and Color Touchscreen
- ✔ Display: High-resolution color touchscreen
- ✔ Security chips: TROPIC01 chip and EAL6+ Secure Element
- ✔ Connectivity: Encrypted Bluetooth and USB-C

Ledger Nano X Bluetooth Crypto Wallet
- ✔ Display: 1.1-inch OLED
- ✔ Connectivity: Bluetooth, NFC, and USB
- ✔ Compatibility: Desktop, iOS, and Android; not Chromebook compatible

Tangem Crypto Wallet, 2-Pack
- ✔ Pack count: 2 NFC cards
- ✔ Security chip: EAL6+
- ✔ Connectivity: NFC
Difficulty: Beginner | Time: 30-60 minutes, plus any time needed for a blockchain transfer to confirm
What You’ll Need
Tools & Materials:
- A hardware wallet from its official manufacturer
- A computer or phone compatible with the wallet
- The manufacturer’s official companion app, downloaded from its official website or verified app store listing
- Pen and paper, or another secure offline way to record the recovery phrase
- A small amount of cryptocurrency for a test transfer, plus network fees
Knowledge:
- Basic use of a phone or computer
- The difference between a cryptocurrency and its blockchain network
- How to copy and verify a wallet address
Check that the wallet supports the specific asset and network you plan to use. A token may be available on several networks, and sending it over the wrong network can make funds difficult or impossible to recover. Never share your recovery phrase or enter it into a website, chat, or support form.
Trezor Safe 7 Crypto Hardware Wallet with Bluetooth and Color Touchscreen
Trezor Safe 7 is the strongest all-around fit in this group because it combines a dedicated screen for reviewing transactions with mobile and desktop connectivity. Its color touchscreen gives buyers a more direct way to navigate assets and check transaction details than the compact OLED on Ledger Nano X. That distinction matters when we want the signing device itself to be central to the approval process rather than relying mainly on a companion phone interface.Its security design also sets it apart: the wallet pairs a TROPIC01 chip with an EAL6+ Secure Element. The product information describes the TROPIC01 as fully auditable, giving security-conscious buyers a specific architectural feature to weigh. By comparison, Tangem also lists an EAL6+ chip, but its card format and NFC phone workflow are a different kind of experience, while Ledger emphasizes its app-based management.The tradeoff is that Safe 7 is still tied to Trezor Suite for asset management, so buyers should be comfortable with that software. Its Bluetooth and USB-C options broaden compatibility, and the aluminum body, reinforced glass back, and IP54 rating add everyday resilience. Qi2 charging is convenient only if we already have compatible equipment. Choose it for a capable, screen-forward wallet; skip it if a battery-free card is the priority.
Pros:
- Color touchscreen supports on-device asset navigation and transaction review.
- TROPIC01 chip and EAL6+ Secure Element provide a dual-chip security design.
- Encrypted Bluetooth and USB-C support Android, iOS, and desktop use.
- Aluminum body, reinforced glass, IP54 resistance, and LiFePO₄ battery.
Cons:
- Asset management requires the Trezor Suite app.
- Qi2 wireless charging depends on compatible charging equipment.
- More involved electronic design may be excessive for buyers who prefer simple NFC cards.
Best for: Buyers who want a dedicated touchscreen, dual-chip security architecture, and both mobile and desktop access in one wallet.
Not ideal for: People who want a seed-phrase-free card workflow, no charging needs, or a wallet managed without Trezor Suite.
Bottom line: We rank Safe 7 first for pairing the clearest on-device review experience with broad connectivity and a distinctive dual-chip design.
“We rank Safe 7 first for pairing the clearest on-device review experience with broad connectivity and a distinctive dual-chip design.”
Ledger Nano X Bluetooth Crypto Wallet
Ledger Nano X makes the most sense for buyers who want their hardware signer paired with a broad mobile management app. Ledger Wallet supports portfolio tracking and actions such as sending, receiving, swapping, and staking across supported blockchains. That app-centered approach is more prominent here than on Tangem, whose pitch centers on NFC cards, and it gives Nano X a clear role for people who want several crypto tasks gathered in one companion interface.The device is compact, rechargeable, and connects over Bluetooth or USB, with compatibility listed for desktop, iOS, and Android. In a pocket, it is a more conventional small electronic signer than the touchscreen-focused Safe 7. The compromise is its 1.1-inch OLED: it keeps the device small, but offers less room to inspect information than Trezor’s color touchscreen. Buyers who prioritize detailed on-device navigation may prefer Trezor, while buyers who value app workflow may accept the smaller display.There are practical limits to consider. The Nano X is not compatible with Chromebooks, and the supplied guidance recommends a protective Pod or Case to help prevent scratches and everyday wear. Tangem avoids charging and cables, but requires a compatible phone; Nano X instead offers a rechargeable device and Bluetooth. Choose Ledger when its app and mobile use match your routine, and skip it if Chromebook access or a larger screen is essential.
Pros:
- Bluetooth and USB connectivity support mobile and desktop use.
- Ledger Wallet app includes portfolio tracking and multiple transaction types.
- Compact design with a rechargeable battery for mobile use.
- Works with iOS and Android as well as desktop devices.
Cons:
- Not compatible with Chromebooks.
- The 1.1-inch OLED is smaller than the Safe 7 touchscreen.
- A protective Pod or Case is recommended to limit everyday scratches and wear.
Best for: Mobile-first crypto holders who want a compact signer and portfolio and transaction management through Ledger Wallet.
Not ideal for: Chromebook users, or buyers who want a large on-device screen or a battery-free NFC card format.
Bottom line: We recommend Nano X for app-centered mobile management, provided its small screen and device compatibility fit your setup.
“We recommend Nano X for app-centered mobile management, provided its small screen and device compatibility fit your setup.”
Tangem Crypto Wallet, 2-Pack
Tangem takes a different route from the electronic signers ranked above it: the two NFC cards work with a compatible phone, and setup does not require a seed phrase. For buyers who find seed phrase handling burdensome, this is a meaningful distinction. The private keys are generated and protected inside an EAL6+ chip, while the second card provides a backup within the same card-based system.Compared with Safe 7’s touchscreen or Ledger Nano X’s small OLED, Tangem has no built-in screen or battery. It is instead designed around tapping a card to a phone. That keeps the wallet compact and removes charging and cable management, but it also makes a compatible phone a firm requirement for access. The stated support for more than 90 blockchains and 16,100+ coins and tokens gives it broad reach on paper; buyers should still confirm that their specific assets and desired actions work in the app.The cards are built for rougher conditions, with IP69K water resistance and stated shock and temperature resistance. This is a sturdier physical format than the more screen-oriented Safe 7, though it cannot offer that device’s transaction display. Tangem also offers optional seed phrase setup, so buyers seeking a completely seedless process need to avoid that option. Pick it for simplicity and resilient cards; choose Ledger or Trezor if you want an electronic signer with its own screen.
Pros:
- Setup does not require a seed phrase.
- Two NFC cards provide a backup card in the package.
- EAL6+ chip generates and protects private keys.
- IP69K rating and stated shock and temperature resistance support a durable card format.
Cons:
- A compatible phone is required to access the wallet.
- No built-in display for reviewing transaction details on the card.
- Optional seed phrase setup must be avoided by buyers seeking a fully seedless process.
Best for: Buyers who prefer NFC cards, want to avoid a seed phrase during setup, and already have a compatible phone.
Not ideal for: People who need wallet access without a phone or want to review transaction details on a dedicated wallet screen.
Bottom line: Tangem is our clearest choice for phone-based, seed-phrase-free card custody, with phone dependence as its defining tradeoff.
“Tangem is our clearest choice for phone-based, seed-phrase-free card custody, with phone dependence as its defining tradeoff.”
As an Amazon Associate we earn from qualifying purchases.
Before You Start
Buy the device from the manufacturer or an authorized seller. Do not use a wallet that arrives with a recovery phrase already written down, or one whose setup instructions tell you to use a phrase supplied by someone else. The device should generate a new phrase during your own setup.
Download the companion app by typing the manufacturer’s official web address yourself or using its verified app store listing. Avoid sponsored search results, unsolicited links, and messages offering setup help. A hardware wallet can protect keys, but it cannot make a fraudulent app, copied address, or mistaken transfer safe.
Step-by-Step Instructions
Step 1: Inspect the wallet and install its app
Check the package and device for signs of tampering, following the manufacturer’s instructions for your model. Connect or power on the wallet, then install and open its official companion app. If the app asks you to enter a recovery phrase before the wallet has generated one, stop and verify that you have the official app and device instructions.
Tip: A recovery phrase is equivalent to control of the funds. Manufacturer support should not ask you to disclose it.
Check: The device powers on normally, and the companion app recognizes it or provides the manufacturer’s documented setup flow.
Step 2: Create a new wallet on the device
Choose the option to create a new wallet, rather than restore one, unless you are intentionally recovering an existing wallet. Follow the prompts on the device itself to set a PIN or other supported access control. Use a PIN that is not easy to guess, and do not share it.
Tip: The menu names vary by model. Follow the screen on the physical device and the matching official instructions.
Check: The device confirms that it has created a wallet and proceeds to show or verify a recovery phrase.
Step 3: Record and verify the recovery phrase
Write each recovery word in the exact order shown on the device. Check spelling and numbering as you go. Complete the device’s phrase verification prompt by selecting or entering the requested words. Store the written phrase somewhere private and protected from loss, theft, fire, and water; keep it offline.
Tip: Do not photograph, email, message, or save the phrase in a cloud document or password manager. Anyone who gets the phrase may be able to take the assets, even without the device or PIN.
Check: The device accepts the phrase verification, and your offline record matches the displayed word order.
Step 4: Add the asset and confirm its network
In the companion app, add or enable the cryptocurrency you intend to use. Select the exact asset and network that the sending service supports. Read the manufacturer’s instructions if the app needs you to install an asset app on the device or approve an account on its screen.
Tip: A familiar token name does not identify its network. Compare the network name on the wallet and sending service before transferring funds.
Check: The app displays an account for the intended asset and network, with a receive option.
Step 5: Get and verify a receiving address
Choose Receive for the account, then confirm the address on the hardware wallet’s physical display when prompted. Compare the address on the device with the one in the app. Copy the verified address using the app’s supported method, and check the beginning and end of the address after pasting it into the sending service.
Tip: Malware can replace copied addresses. The address shown on the physical wallet is the key reference for this check.
Check: The full address displayed by the wallet matches the address you are about to use, and the selected network matches.
Step 6: Send a small test amount
At the exchange or source wallet, start a withdrawal or transfer to the verified address. Select the matching network and send a small amount that you can afford to lose if something goes wrong. Review the amount, address, network, and fee before submitting. Track the transfer using the source service or a reputable block explorer for that network.
Tip: Transfers may be irreversible once broadcast. Wait for the required network confirmations before sending more.
Check: The transfer appears in the wallet app under the correct account after the network confirms it.
Step 7: Test a small outgoing transfer
When the test deposit has arrived, start a small send from the wallet to an address you control at a compatible destination. Enter the destination address and network, then review the transaction details in the companion app. Verify the address, asset, amount, and fee on the hardware wallet’s display before approving with its controls.
Tip: If the screen details differ from what you entered, reject the transaction and investigate before trying again.
Check: The transaction is signed only after you approve the matching details on the device, and it reaches the destination after confirmation.
Step 8: Store the device and recovery record safely
Disconnect or lock the wallet according to its instructions. Store the device and recovery phrase separately in secure locations, and keep the PIN private. Make a plan for trusted access in an emergency without putting the phrase where other people can find it.
Tip: The recovery phrase restores access if the device is lost or damaged. Protect it as carefully as the funds themselves.
Check: The device is locked or disconnected, and the phrase is offline, legible, and stored privately.
Common Mistakes to Avoid
- Sending to a correct-looking address on the wrong network. — Match the asset and network on both services, and make a small test transfer before sending a larger amount.
- Saving the recovery phrase in a photo, email, cloud drive, or chat. — Record it offline and store it in a private, protected place. Never provide it to a website or support agent.
- Approving a transaction without checking the hardware wallet display. — Read the address, asset, amount, and fee on the physical device before approving.
- Trusting a copied address without checking it. — Confirm the address on the hardware wallet and recheck the pasted address before sending.
Troubleshooting
Problem: The companion app does not detect the device.
Solution: Reconnect the cable or try a supported cable and port, unlock the device, and check that the app and device firmware support one another. Use the manufacturer’s official troubleshooting instructions.
Problem: The asset or account does not appear.
Solution: Check that the asset is supported and enabled, then confirm that the correct account and network are selected. Do not send funds until the intended receive address is available.
Problem: A test transfer has not arrived.
Solution: Check its status with the sending service and look up the transaction ID on a reputable explorer for the selected network. Confirm that the service processed it and that the destination address and network match; contact the service through its official support channel if it remains pending.
Problem: The device shows transaction details that do not match the app.
Solution: Reject the transaction. Check the address and network from a trusted source, update the official app if needed, and scan your computer or phone for unwanted software before retrying.
What Success Looks Like
The wallet was created on the device, its recovery phrase was verified and stored offline, and you can see the intended asset account. A small incoming transfer arrived on the expected network, and a small outgoing transfer reached a destination you control after you approved matching details on the device. You can repeat these checks without sharing the phrase or approving unexplained prompts.
Next Steps
Keep the wallet app and device firmware current using the manufacturer’s official update process. Before each transfer, verify the asset, network, address, amount, and fee on the device. Review the recovery record periodically for legibility and secure storage, without entering the phrase into a connected device. If you change wallets, follow the receiving manufacturer’s official recovery instructions and test access with a small amount before moving significant funds.
Frequently Asked Questions
Does a hardware wallet store cryptocurrency?
Typically, the assets remain recorded on their blockchains. The device stores or protects the keys used to approve transactions, while the companion app shows account information.
What should I do if I lose the hardware wallet?
Use a compatible replacement and the manufacturer’s official recovery process with your recovery phrase. If you suspect someone else has seen the phrase, use a secure device and trusted instructions to move funds to a newly created wallet with a new phrase.
Can manufacturer support ask for my recovery phrase?
No legitimate setup or support process needs you to disclose it. Anyone asking for the phrase may be trying to take control of the wallet.
How much should I send for the test?
Use the smallest amount the sending service permits that still covers network fees and can confirm the receiving flow. Treat it as a real transfer, since fees may not be refundable.
Should I approve a message or transaction I do not recognize?
No. Reject it and investigate through the official app and manufacturer instructions. Approve only transactions whose details you understand and have checked on the hardware wallet.